Requirements:
Smart phone, A4 size inkjet printer and Photo glossy Paper.
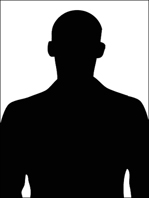
- Taking photos using mobile camera. When you take photo use the portrait mode. Do not take close ups using the wide angle lens as the image will get distorted. Keep the camera to the eye level of the subject. Facial expression need to be natural. For getting good looking image keep the subject little far away including full shoulder and shirt as shown in the picture above. The unwanted part of the photo can be removed by cropping using Photoshop. Diffused daylight is better for getting good looking photo. The light should come from the back of the photographer. Do not use direct light sunlight as it cause dark shadows on the background. The background need to be plain white or light shaded. The selected jpeg image is copied to your laptop or desktop computer having Adobe Photoshop.
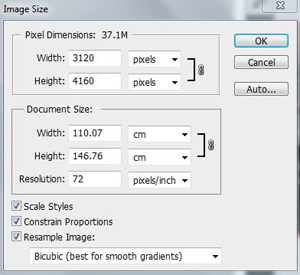
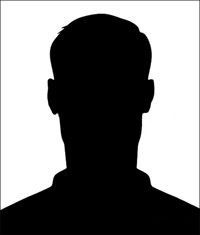
2. Cropping of photo. Open the image in Photoshop. Open image dialogue box. Observe the image size and resolution of the photograph. In my mobile camera the size of the photo is found to be 146.76 cms x 110.07 cms. (more than 1 meter size !!!) The image size and resolution of the photo depends on the type of mobile / digital camera used. Typically 72 dpi (dpi stands for dots per inch). Depends on the megaxel of the camera. Crop the photo using cropping tool (C) leaving equal space on left and right side and little space on top as shown in the image below. Head need to be dominant (40-50%) in the photograph and not the body. Now the photo is well cropped in a portrait rectangular format.
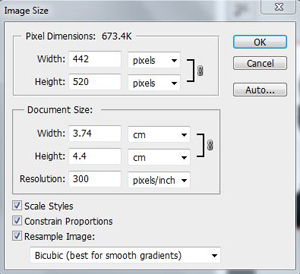
3. Two parameters of the photo need to be changed. (1) Height of the photo need to be reduced to 4.4 cms. (2) Resolution need to be 300 dpi. The normal passport size photo is having 4.4 cm height cm with 300 DPI resolution.
Do the following steps.
- Open the photo in Adobe Photoshop.
- Open the Image size dialogue box from the menu. You can see the size of the photograph and its resolution.
- Uncheck the resampling check box.
- Type the required size ie., 4.4 cms height. (Width changes automatically) Now observe the resolution of the image. The resolution is found to be increased.
- Click on the resampling check box. As the required resolution is 300 dpi, we need to type 300 in the resolution box. Verify that the height is now 4.4 cms and resolution is 300 dpi.
- Select the photo using command. Ctrl + A, Go to edit menu, select stroke, give black colour 1 pixel. Black outline is given to the cropped photo. (Useful to see the boundary of photo if the background of the photo is white)
- Now the photo is ready for printing. If you print this photo by using any printer, you will get the exact size photograph based on the measurement given in the photoshop.
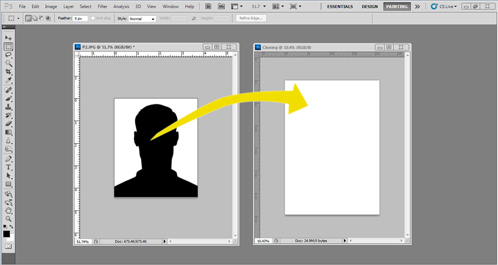
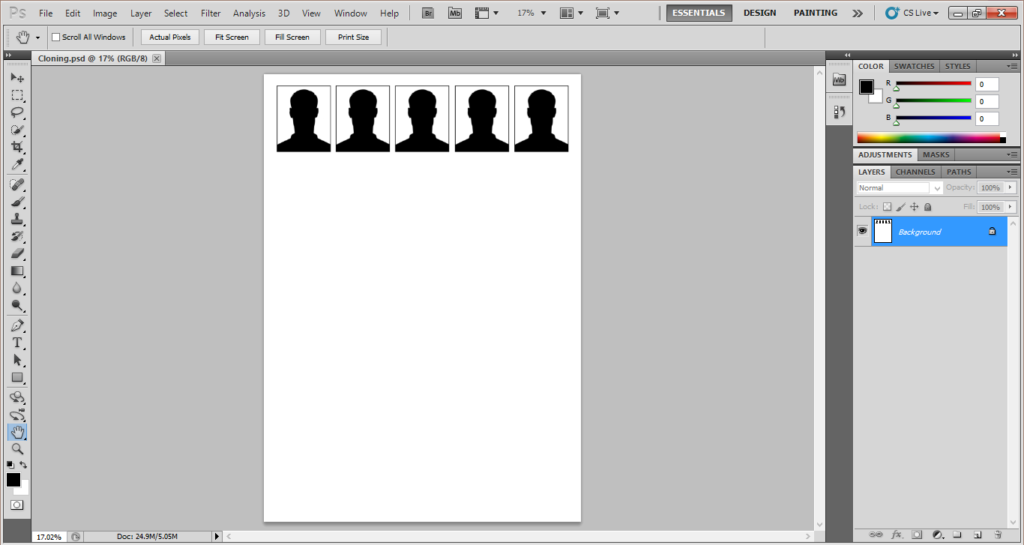
4. Cloning of Photograph. If you want many photos, you can clone this photo and put it in an A4 page.
- Open a new A4 page in Photoshop. Make sure that the resolution is 300 dpi.
- Select the window containing the passport size photo
- Using the arrow tool (V) Click and drag the passport size photo into the top left of the A4 page.
- Holding Alt + Shift, duplicate the photo as per your requirement. Drag and place 4 additional photos into the A4 page in a single row as shown in the picture.
Printing :
- Feed A4 EPSON photo glossy paper to the printer.
- Control + P ; select paper size to A4.
- Select the paper type : Premium glossy paper – Photo mode.
- Click the print.
Result: Studio quality prints – one row of 5 photos are ready. The same paper can be reused again and again as per your requirements.
A4 EPSON Photo glossy paper available here